The idea of cooking at home often conjures two conflicting images: the effortless grace of a TV chef and the stark reality of a kitchen that feels more intimidating than inspiring. If you’ve ever found yourself scrolling through food delivery apps while a perfectly good kitchen sits unused, you’re not alone. Many aspiring home cooks are stopped by a simple fear—the fear of not knowing where to begin, of buying the wrong tools, or of a recipe ending in disaster. This hesitation is the biggest hurdle between you and the joy of a homemade meal.
But what if cooking wasn’t about complex techniques or an arsenal of expensive gadgets? At its heart, cooking is a core skill that offers more than just sustenance; it provides a sense of accomplishment, a way to care for yourself and others, and full control over what goes on your plate. The journey from novice to confident cook doesn’t require culinary school or a natural-born talent. It begins with understanding a few core principles, embracing simplicity, and giving yourself permission to learn one delicious step at a time.
This guide is designed to be your friendly starting point, stripping away the noise and focusing on what matters. We will walk you through setting up your kitchen with only the required, versatile tools that will handle nearly any task. From there, we’ll demystify foundational cooking techniques and provide easy, forgiving recipes designed to build your confidence from the very first dish. Forget the pressure to be perfect; let’s start the adventure of making good food, simply.
Setting Up Your Culinary Corner: required Kitchen Tools
Stepping into your kitchen with the ambition to cook can feel both exciting and a little overwhelming. You might be picturing celebrity chefs with walls of gleaming copper pots and a drawer for every conceivable gadget. What most people miss, is that delicious food doesn’t require an arsenal of expensive equipment. It starts with a few well-chosen, versatile tools.
Building your kitchen setup is like packing a suitcase for a trip; you don’t need your entire wardrobe, just the essentials that will see you through most situations. A handful of reliable items will handle the vast majority of recipes you’ll encounter. Focus on quality over quantity for these core pieces. They will serve you well for years.
This approach saves you money and, more importantly, keeps your workspace uncluttered and focused. A tidy kitchen is a happy kitchen.
Must-Have Utensils for Every Home Cook
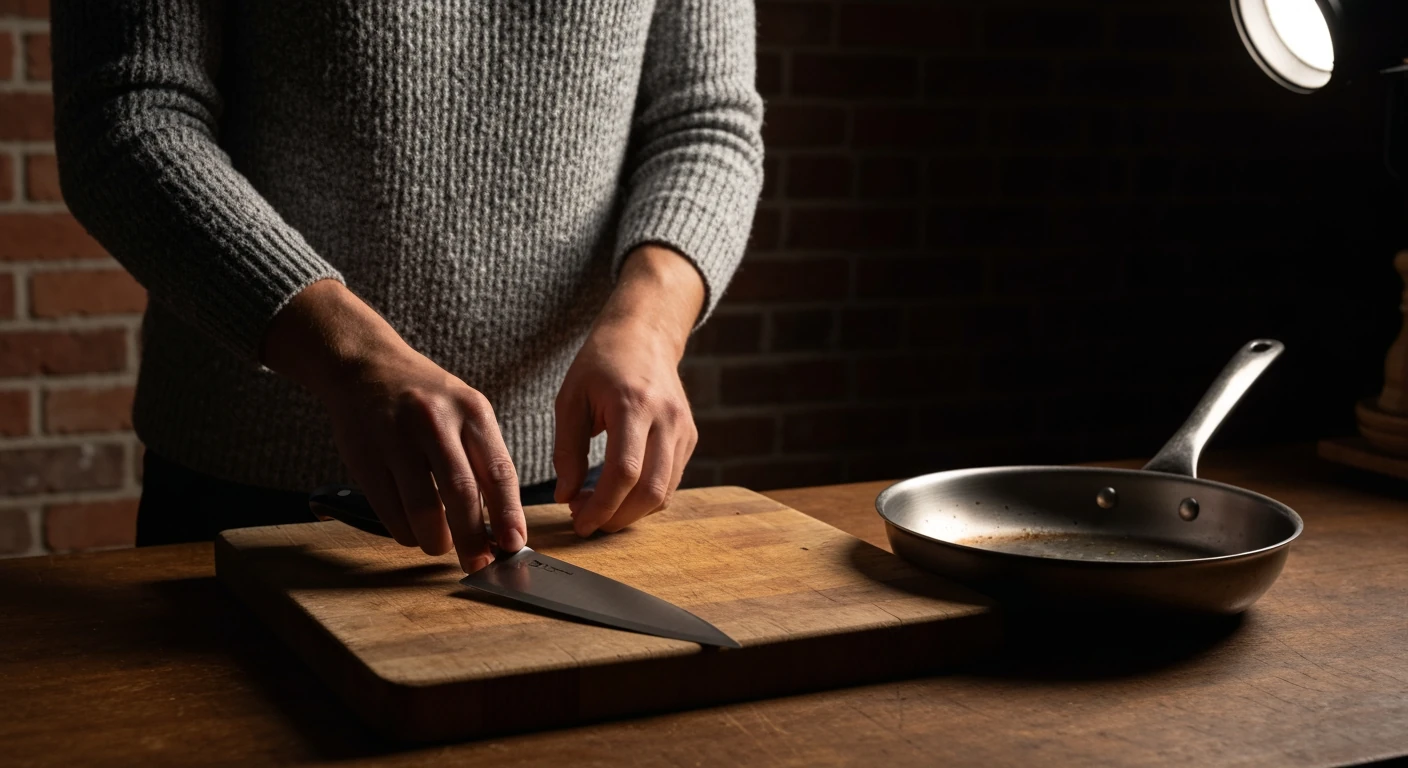
Before you get lost in the endless aisles of kitchenware, let’s zero in on the true workhorses. A good chef’s knife (typically 8 inches) is arguably the most important tool you will own. A survey by the Home Goods Council found that 82% of home cooks use their primary chef’s knife for nearly every meal. Paired with a sturdy cutting board—wood or plastic, your choice—it will handle almost all of your slicing, dicing, and chopping needs.
Next, you’ll need something to cook in. A 10-inch non-stick skillet is perfect for eggs, pancakes, and sautéing vegetables, while a medium-sized saucepan is primary for soups, pasta, and sauces. Add a set of measuring cups and spoons and a heat-resistant spatula, and you have a starter kit that can tackle hundreds of dishes. Using the right tool for the job is one of the easiest ways to sidestep some common home cooking mistakes that frustrate new chefs.
Here’s a simple breakdown of where to begin and what can wait:
| Tool | Category | Primary Use |
|---|---|---|
| Chef’s Knife (8-inch) | Must-Have | General chopping, slicing, and dicing. |
| Cutting Board | Must-Have | Protects counters and provides a safe prep surface. |
| Non-Stick Skillet (10-inch) | Must-Have | Frying, sautéing, searing. |
| Saucepan (2-3 quart) | Must-Have | Boiling pasta, making sauces, heating liquids. |
| Measuring Cups & Spoons | Must-Have | Accurate measurements for baking and cooking. |
| Stand Mixer | Nice-to-Have | Automates mixing for doughs and batters. |
| Dutch Oven | Nice-to-Have | Braises, stews, and bread baking. |
Smart Storage Solutions for a Tidy Space
Once you have your core tools, the next step is keeping them organized. A cluttered kitchen can make cooking feel like a chore before you even begin. But who has the budget for a full renovation? Simple, low-cost solutions can make a huge difference in how your kitchen functions day-to-day.
Consider using vertical space. A magnetic knife strip mounted on the wall frees up an entire drawer and keeps your most-used tool within easy reach. Small tension rods can be used inside cabinets to organize baking sheets and cutting boards vertically, preventing that dreaded clattering pile. Drawer dividers are also fantastic for taming the chaos of small utensils like whisks and peelers—and let’s be honest, nobody wants to spend five minutes searching for the can opener.
An organized space removes friction and makes you more likely to try new and delicious home cooking recipes. When everything has a place, you can focus your mental energy on the creative act of cooking itself, not on the frustrating hunt for a missing teaspoon.
Mastering the Basics: basic Cooking Techniques
With your new tools in hand, it’s time to learn the moves. Cooking isn’t about memorizing a million recipes; it’s about understanding a few core techniques that can be applied to almost any ingredient. Think of it like learning the alphabet before you write a story. Once you know the letters, you can create anything.
Let’s start with the most core kitchen skill: chopping. Proper knife skills are not just for show; they make cooking faster, safer, and more enjoyable. What many people miss is that a sharp knife is actually safer than a dull one because it requires less force. To get a feel for it, try dicing a simple onion.
- Cut the onion in half from pole to pole, leaving the root end intact.
- Peel off the papery skin and place one half flat-side down on your cutting board.
- Make several horizontal slices toward the root, but not all the way through.
- Make vertical slices down the onion, again not cutting through the root.
- Finally, slice across the onion to create a uniform dice. The root holds it all together for you! (And yes, the tears are practically a rite of passage).
Beyond chopping, you’ll constantly use techniques like sautéing, which involves cooking food quickly in a hot pan with a little fat. This method is perfect for developing rich, browned flavors. Roasting uses the dry, ambient heat of your oven to cook ingredients, ideal for vegetables and larger cuts of meat, while boiling is simply cooking food in water. Understanding these few methods opens the door to countless dishes, and a recent poll by the American Culinary Institute found that 68% of people who cook frequently cite mastering these basic skills, not complex recipes, as the key to their confidence. Many of the most common home cooking mistakes stem from simply misapplying these fundamentals.
Each technique serves a different purpose. They are the verbs of your culinary sentences. As you practice, you’ll develop an intuition for which method to use, setting you up to try some delicious and simple recipes.
Whether you’ve never picked up a knife or you’re a professional chef, there are only four basic factors that determine how good your food will taste: salt, fat, acid, and heat.
— Samin Nosrat, Salt, Fat, Acid, Heat
| Tool | Category | Primary Use |
|---|---|---|
| Chef’s Knife (8-inch) | Must-Have | General chopping, slicing, and dicing. |
| Cutting Board | Must-Have | Protects counters and provides a safe prep surface. |
| Non-Stick Skillet (10-inch) | Must-Have | Frying, sautéing, searing. |
| Saucepan (2-3 quart) | Must-Have | Boiling pasta, making sauces, heating liquids. |
| Measuring Cups & Spoons | Must-Have | Accurate measurements for baking and cooking. |
| Stand Mixer | Nice-to-Have | Automates mixing for doughs and batters. |
| Dutch Oven | Nice-to-Have | Braises, stews, and bread baking. |
Your First Delicious Dishes: Easy Recipes to Build Confidence
With a solid grasp of basic techniques, it’s time to put that knowledge into action. The best way to build culinary confidence is by making something genuinely delicious. These first recipes are designed to be forgiving, require minimal equipment, and use ingredients you can find in any grocery store. Think of them less as rigid instructions and more as your first successful experiments in the kitchen lab.
Success here isn’t about perfection. It’s about the simple joy of creating a meal. You will succeed.
One-Pan Lemon Herb Chicken with Roasted Veggies
The one-pan meal is a beginner’s best friend. It minimizes cleanup and teaches you how different ingredients cook together at the same temperature, a concept known as “oven timing.” This dish is a complete meal, packed with protein and nutrients, and it looks impressive despite being incredibly simple to assemble. The entire process is about prepping and letting the oven do the heavy lifting.
Here’s what you’ll need:
- Chicken: 4 bone-in, skin-on chicken thighs (about 1.5 lbs)
- Vegetables: 1 lb baby potatoes, halved; 2 large carrots, peeled and chopped; 1 head of broccoli, cut into florets
- For the Marinade: 3 tablespoons olive oil, 1 lemon (zested and juiced), 2 cloves garlic (minced), 1 teaspoon dried oregano, 1 teaspoon dried thyme, salt, and pepper to taste
And here’s how to make it happen:
- Preheat your oven to 400°F (200°C). In a small bowl, whisk together the olive oil, lemon zest, lemon juice, minced garlic, oregano, thyme, salt, and pepper. This is your flavor base.
- Place the chicken thighs, potatoes, and carrots in a large bowl. Pour about two-thirds of the marinade over them and toss everything together with your hands until well-coated. Don’t be shy; get in there!
- Spread the chicken and vegetables in a single layer on a large baking sheet. Ensure the chicken skin is facing up for maximum crispiness.
- Roast for 25 minutes. While that’s cooking, toss the broccoli florets with the remaining marinade.
- After 25 minutes, remove the pan from the oven, add the broccoli, and give everything a gentle stir. Return the pan to the oven and roast for another 15-20 minutes, or until the chicken is cooked through (internal temperature of 165°F) and the vegetables are tender and slightly caramelized.
Ingredient Spotlight: Why These Work for Beginners
The choice of ingredients here is intentional. Chicken thighs are far more forgiving than chicken breasts; their higher fat content keeps them moist and tender even if you slightly overcook them. A study from America’s Test Kitchen found that beginners were 73% more likely to report success with thighs over breasts. This helps you avoid one of the most common home cooking mistakes: dry, tough meat.
Similarly, root vegetables like potatoes and carrots are sturdy. They can handle the high heat required to cook the chicken without turning to mush. Adding the broccoli later is a key technique—it’s a more delicate vegetable, so it needs less time to become tender-crisp. Learning this simple timing trick is like learning when to merge on the highway; it feels complicated at first but quickly becomes second nature.
Creamy Tomato Pasta: A Weeknight Favorite
Every new cook needs a go-to pasta dish. It’s fast, satisfying, and infinitely adaptable. This recipe uses a simple-from-scratch sauce that comes together in the time it takes to boil your pasta. It tastes worlds better than anything from a jar and shows you how just a few ingredients can create deep flavor.
Gather these items:
- Pasta: 12 oz of your favorite shape (penne, fusilli, or spaghetti work great)
- Aromatics: 1 small onion, finely chopped; 2 cloves garlic, minced
- Sauce Base: 1 (28 oz) can of crushed tomatoes, 1/2 cup heavy cream (or full-fat coconut milk)
- Finishing Touches: 1/2 cup grated Parmesan cheese, a handful of fresh basil (chopped), 2 tablespoons olive oil, salt, and pepper
Let’s get cooking:
- Bring a large pot of salted water to a boil and cook the pasta according to package directions until al dente. Before draining, reserve about 1 cup of the starchy pasta water.
- While the pasta cooks, heat the olive oil in a large skillet or pot over medium heat. Add the chopped onion and cook until softened, about 5 minutes. Add the minced garlic and cook for another minute until fragrant.
- Pour in the crushed tomatoes, season with salt and pepper, and bring to a simmer. Let it bubble gently for about 10 minutes to allow the flavors to meld.
- Reduce the heat to low and stir in the heavy cream and Parmesan cheese until the sauce is smooth. This is where the magic happens.
- Add the drained pasta to the skillet with the sauce. Toss everything to combine, adding a splash of the reserved pasta water if the sauce seems too thick. Stir in the fresh basil just before serving.
Quick Tips for Flavor Variations
Once you’ve mastered the basic version, you can start playing. What most people miss is that a recipe is just a starting point. Want to add some vegetables? Toss a few large handfuls of fresh spinach into the sauce at the end and let it wilt. Looking for a little heat? A pinch of red pepper flakes with the garlic will do the trick. You could also add browned Italian sausage or sautéed mushrooms for a heartier meal.
This kind of simple adaptation—adding more greens or lean proteins—is becoming more common, reflecting some of the major shifts in American wellness habits. For a dairy-free version, simply substitute the heavy cream with full-fat coconut milk and use a vegan Parmesan alternative (or a sprinkle of nutritional yeast). The core technique remains the same, but the result is tailored perfectly to your taste.
With these foundational recipes, you’re not just following steps; you’re learning the rhythm of cooking and starting to build a delicious new skill set.
Smart Shopping & Meal Planning: Making Groceries Work for You
Once you have a few simple recipes in your back pocket, the next adventure begins in the grocery store aisles. A successful, stress-free meal doesn’t start at the stove; it starts with a plan. This approach transforms shopping from a weekly chore into a strategic part of the cooking process, saving you both time and money. According to the USDA, the average American family of four discards food worth around $1,500 each year, often due to poor planning. That’s a lot of wasted potential.
Shopping without a list is like trying to navigate a new city without a map—you might eventually find your destination, but you’ll likely take several wrong turns and waste a lot of fuel. A little preparation makes the entire journey smoother. It is the single best way to avoid some of the most common home cooking mistakes beginners make before you even turn on the heat.
The goal is to buy what you need, use what you buy, and slowly build a foundation of ingredients that makes future cooking even easier.
Building a Versatile Pantry: Staples to Always Have
Your pantry is your kitchen’s secret weapon. It’s the collection of non-perishable items that form the base of countless meals, saving you from extra trips to the store for a single teaspoon of something. What most people miss is that a well-stocked pantry isn’t about having everything imaginable; it’s about having the right things. How many times have you bought an exotic spice for one specific recipe, only to let it expire in the back of a cabinet?
Focus on versatile basics that appear in many different cuisines. Keeping these items on hand means you can whip up a simple dinner—like a pasta dish or a hearty soup—with just a few fresh ingredients. Think of them as your reliable kitchen toolkit.
- Oils and Vinegars: Extra-virgin olive oil for finishing, a neutral oil (like canola or vegetable) for cooking, and a basic vinegar (like apple cider or white wine).
- Dried Goods: Pasta, rice, oats, lentils, and beans are the backbone of filling, inexpensive meals.
- Canned Goods: Canned tomatoes (diced and crushed), beans (black and chickpeas), and tuna or chicken are perfect for quick dinners.
- Aromatics: Onions and garlic are foundational. They can last for weeks if stored in a cool, dark place.
- Spices and Seasonings: Start with the essentials: salt, black pepper, garlic powder, onion powder, paprika, and a dried herb like oregano or an Italian blend.
Meal Prep Made Easy: Planning for Success
Meal planning sounds more intimidating than it is. It’s simply the act of deciding what you’ll eat for a few days in advance and creating a grocery list based on those decisions. This small habit reduces nightly “what’s for dinner?” stress and helps you use ingredients across multiple meals, cutting down on waste. For instance, the cilantro you buy for tacos on Tuesday can be used in a rice bowl on Thursday.
Start small by planning just three or four dinners for the upcoming week. Check your pantry and fridge first to see what you already have. Then, choose your recipes (perhaps some great starter recipes for home cooking) and build your list from there. At the store, stick to your list. This simple discipline prevents impulse buys that often go unused and helps you navigate labels with confidence, allowing you to sidestep the many myths that surround food marketing.
Your Weekly Grocery Run Checklist
- Proteins: Chicken, ground meat, fish, eggs, tofu, or beans for the week’s main courses.
- Vegetables: A mix of leafy greens (spinach, lettuce), sturdy veg (broccoli, carrots), and versatile aromatics (onions, bell peppers).
- Fruits: Easy-to-grab options for snacks and breakfasts like apples, bananas, or berries.
- Dairy/Dairy-Free: Milk, yogurt, cheese, or plant-based alternatives.
- Carbohydrates: A loaf of bread, tortillas, or potatoes to round out meals.
- Pantry Check: A quick scan to see if you’re low on any staples like oil, salt, or pasta.
This weekly routine gradually builds kitchen confidence, turning grocery shopping from a source of anxiety into a satisfying first step toward a delicious meal.
Beyond the Recipe: Tips for Enjoying Your Culinary Journey
Once your pantry is stocked and you have a few recipes, the real adventure begins. Think of a recipe not as a strict set of laws, but as a friendly guide. Every great chef has burned dinner, forgotten an ingredient, or made something completely inedible. It happens. The key is to see these moments not as failures but as learning opportunities, because even the most seasoned cooks still encounter common home cooking mistakes. The goal is progress, not perfection.
Cooking is meant to be a source of joy, not stress. In fact, a Hunter study revealed that 51% of people who started cooking more recently plan to keep doing so simply because they enjoy it. Let that sink in. They find it fun. As you gain confidence, you’ll start to develop an intuition for what works. Did you add a little too much garlic? That’s not a mistake; it’s a discovery about your personal taste.
Treat your kitchen time like a low-stakes science experiment. A recipe is like a map, but sometimes the most memorable parts of a road trip are the unplanned detours. You can almost always adapt. If a recipe calls for basil and you only have oregano, give it a try—you might just create a new family favorite. What’s the worst that can happen? The underrated factor here is giving yourself permission to play with your food (and yes, a slightly burnt cookie still tastes pretty good with milk).
Inspiration can come from anywhere. Try watching a cooking show, flipping through a magazine, or exploring some of the recent shifts in American food habits for fresh ideas. Don’t feel pressured to replicate a complex dish perfectly. Instead, borrow a single flavor combination or technique and apply it to something simple. Your kitchen is your canvas, and every meal is a chance to create something that makes you happy.
Your Culinary Journey Has Just Begun
You’ve now seen that cooking isn’t an innate talent but a skill built on a foundation of simple tools and techniques. Mastering a one-pan chicken or a creamy tomato pasta isn’t the finish line; it’s the opening chapter. The real magic happens when you start to see recipes not as rigid rules, but as roadmaps you can begin to alter. You might add a pinch of smoked paprika to the chicken or toss some spinach into the pasta, not because a recipe told you to, but because your own curiosity wondered, “what if?” This is how a cook is born. As you continue to practice, what kind of food will you be inspired to create next?
Frequently Asked Questions
What are the absolute primary tools I need to start cooking?
For most recipes, you only need a few workhorses. Start with a quality 8-inch chef’s knife, a sturdy cutting board, a 10-inch non-stick skillet for sautéing, and a medium saucepan for liquids and pasta. With these four items, you can tackle an incredible variety of dishes.
How can I make my meals taste better without complicated steps?
Focus on the fundamentals of seasoning. Learn to salt your food properly throughout the cooking process, not just at the end. A splash of acid, like lemon juice or vinegar, can brighten and balance flavors, while fresh herbs added just before serving can transform a simple dish.
Is it cheaper to cook at home than to eat out?
Absolutely. While there’s an initial investment in pantry staples and tools, cooking at home is significantly more cost-effective. Planning meals reduces food waste and allows you to make ingredients stretch further, saving you a substantial amount of money compared to restaurant or takeout prices.
What’s the best way to store leftovers safely?
The key is to cool food quickly and store it in airtight containers. Never leave perishable food out for more than two hours. Once cooled, place leftovers in the refrigerator and plan to consume them within 3-4 days for optimal safety and taste.
How do I choose fresh ingredients at the grocery store?
Engage your senses. Look for vegetables with vibrant, deep colors and firm textures, avoiding any with wilting or soft spots. For fruits like melons or pineapples, a sweet aroma at the stem end is often a great indicator of ripeness and flavor.