That first sip of coffee in the morning can define the entire day. When it’s rich, aromatic, and perfectly balanced, it feels like a small victory. Yet, for many, recreating that magical coffee shop experience at home remains an elusive goal. Despite investing in premium beans and fancy equipment, the result is often a cup that’s disappointingly bitter, sour, or just plain flat. What secret do baristas know that most of us are missing?
The truth is, brewing exquisite coffee isn’t about some hidden magic; it’s a craft built on understanding a few key fundamentals. The gap between a mediocre and a memorable cup often comes down to small, overlooked details in the process. From the freshness of the beans to the temperature of the water, each step plays a critical role in extracting the desired flavors. Many common home-brewing habits unknowingly sabotage the final product before the first drop even hits the mug.
This guide demystifies the art of coffee making, breaking it down into simple, repeatable steps. We will explore the journey from selecting the right beans and understanding roast profiles to mastering the primary tools of the trade. You’ll learn the importance of the coffee-to-water ratio, the impact of grind size, and how to troubleshoot the most common brewing mistakes. By the end, you’ll have the knowledge and confidence to transform your daily ritual into a moment of genuine pleasure, crafting the perfect cup of coffee right in your own kitchen.
The Foundation: Understanding Your Coffee Beans
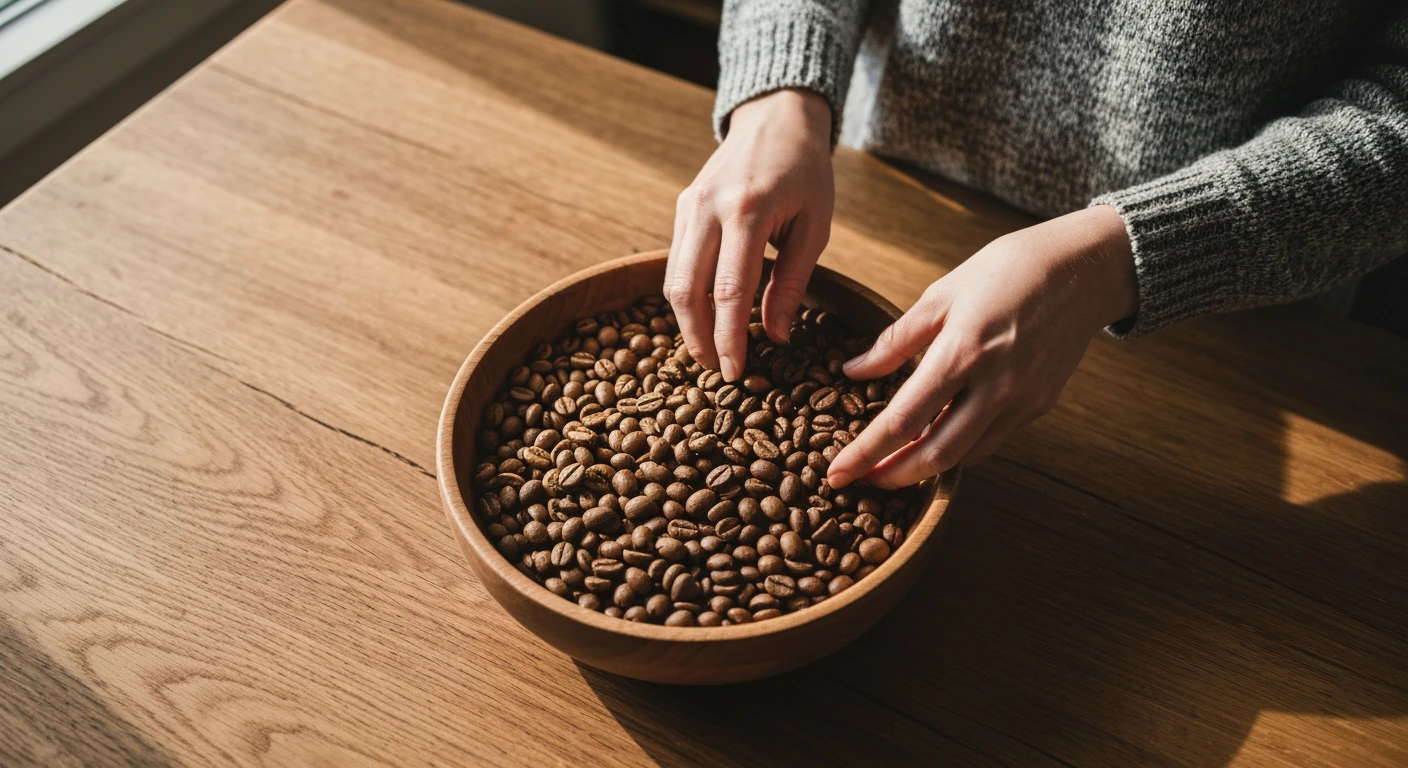
To make a great cup of coffee, you have to start with the source. Think of it like cooking; the best chef can’t make a spectacular dish with subpar ingredients. The same principle applies directly to your morning brew, where the coffee beans themselves dictate the potential flavor and aroma in your cup. Many people unknowingly sabotage their coffee by using old, stale beans, which is one of the most common coffee brewing blunders you can make.
Freshness is everything.
Choosing the Right Beans for Your Taste
Walking down the coffee aisle can feel overwhelming with all the choices available. The first major distinction you’ll encounter is between coffee species, primarily Arabica and Robusta. Arabica beans, which make up over 60% of the world’s coffee production according to the International Coffee Organization, are known for their complex aromatic profiles and higher acidity. Robusta, packs a bigger caffeine punch and has a stronger, more “classic” coffee flavor, but it can sometimes taste rubbery or bitter.
Beyond the species, you’ll see terms like “single-origin” and “blend.” A single-origin coffee comes from one specific farm or region, showcasing the unique taste of that particular place—its soil, climate, and altitude. A blend combines beans from different origins to create a balanced and consistent flavor profile. What most people miss is that neither is inherently better; it’s all about preference. Do you want to taste the bright, fruity notes of a specific Ethiopian farm, or do you prefer the reliable, smooth character of a well-crafted breakfast blend?
Deciphering Roast Levels: A Quick Guide
The roasting process is where green coffee beans are transformed into the aromatic, brown beans we recognize. The duration and temperature of this process determine the roast level, which has a massive impact on the final taste. Surprisingly, the origin flavors of the bean are most prominent in lighter roasts and become less noticeable as the roast gets darker.
Here’s a simple breakdown of what to expect from each level:
| Roast Level | Flavor Profile | Key Characteristics |
|---|---|---|
| Light Roast | Bright, fruity, floral, tea-like | High acidity, light body, no oily sheen on beans. |
| Medium Roast | Balanced, sweet, nutty, chocolatey | Medium acidity and body, slightly more sweetness. |
| Dark Roast | Bold, smoky, bittersweet, roasty | Low acidity, heavy body, beans are often oily. |
Each roast level interacts differently with brewing methods, a detail many brewing brilliance guides will highlight. A light roast might shine in a pour-over that emphasizes its delicate notes, while a dark roast can stand up well to the pressure of an espresso machine. Don’t fall for the myth that darker roasts have more caffeine—it’s actually the opposite, as the roasting process burns some of it off. Finding your favorite bean and roast combination is a journey of delicious experimentation.
Now that you’ve selected the perfect beans, the next step is preparing them for brewing, which starts with the all-important grind.
Primary Tools for the Home Barista
Once you have those perfect beans, the next step is treating them right. Using the wrong equipment can turn even the most prized single-origin coffee into a disappointing, bitter brew. It’s like buying premium organic vegetables only to cook them in a rusty pan. You don’t need a cafe-level budget to get started, but investing in a few key pieces of coffee equipment will profoundly change your morning cup.
The journey from bean to cup is a simple one, but each stage requires the right tool for the job. We’ll focus on the absolute must-haves that form the foundation of any home brewing setup. It starts with the grind.
The Cornerstone: A Quality Grinder
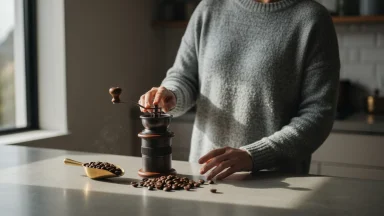
If you only invest in one piece of quality gear, make it a grinder. Pre-ground coffee begins to lose its aromatic compounds within minutes of being ground due to oxidation. Grinding your beans just before you brew is arguably the single most impactful step you can take to improve your coffee’s flavor, a detail that many expert brewing guides emphasize.
A great grinder provides a consistent particle size, which is critical for an even extraction of flavor. When some grounds are too coarse and others are too fine, the water extracts flavor from them at wildly different rates. This often results in a cup that tastes both sour (under-extracted) and bitter (over-extracted) at the same time. It’s a mess.
Burr vs. Blade Grinders
The choice of grinder boils down to two main types: burr and blade. A blade grinder uses a spinning blade to randomly chop the beans, much like a blender. While inexpensive, the result is an inconsistent mix of large chunks and fine powder—the very thing we want to avoid. The friction from the blades can also generate heat, which can slightly cook the grounds and alter their delicate flavors.
A burr grinder, uses two revolving abrasive surfaces (the burrs) to crush coffee beans into a uniform size. The distance between the burrs can be adjusted to control the final grind size with impressive precision. What’s the real difference in the cup? According to research from the Specialty Coffee Association, a uniform grind from a burr grinder can improve extraction consistency by over 50% compared to a blade grinder. This consistency is the secret to a balanced, flavorful brew every single time.
Brewing Devices for Every Preference
With freshly ground coffee in hand, you need a way to introduce it to hot water. Your choice of coffee maker will define the character of your finished drink, from its body and clarity to its overall intensity. There is no single “best” method; the ideal device depends entirely on your taste preferences and how involved you want to be in the process.
Some methods are quick and automated, while others are more of a hands-on ritual. For many, the simple act of preparing coffee is a mindful part of their morning, a welcome contrast to the set-and-forget nature of a machine. Exploring different brewers is one of the most enjoyable parts of the coffee journey.
Popular Home Brewing Methods Compared
While there are dozens of brewing gadgets available, most home baristas start with one of two classics: the French press or the automatic drip machine. Each has a distinct personality and workflow. Understanding their differences is key to avoiding some of the most common coffee brewing blunders.
- French Press: This immersion brewer steeps coffee grounds directly in hot water before a plunger with a mesh filter separates them.
- Pros: Produces a full-bodied, rich, and solid cup. The mesh filter allows natural oils and fine sediment to pass through, contributing to a heavier mouthfeel. It’s simple, requires no paper filters, and is great for travel.
- Cons: The same sediment that some love can be a downside for others, creating a “muddy” texture at the bottom of the cup. The process is entirely manual and requires careful timing to avoid over-extraction.
- Automatic Drip Machine: This is the countertop staple in countless kitchens. It heats water and automatically drips it over a bed of coffee grounds in a filter basket.
- Pros: Unbeatable convenience. It can brew large batches (from 4 to 12 cups) with the push of a button, making it perfect for busy mornings or serving guests.
- Cons: The quality varies dramatically between models. Cheaper machines often fail to reach the optimal brewing temperature (195-205°F), resulting in weak, under-extracted coffee. There is also less control over the brewing variables.
Beyond the Basics: Nice-to-Have Accessories
While a grinder and a brewer are the only true essentials, a couple of other tools can significantly improve your consistency. The most underrated factor here is precision. Coffee brewing is really just a form of basic home cooking—it’s all about ratios and temperature.
A digital kitchen scale is the first accessory to consider. Measuring coffee by volume (like with a scoop) is notoriously inaccurate because bean density varies by origin and roast level. A scale allows you to use a precise coffee-to-water ratio every single time. Many coffee experts suggest that a simple scale offers the biggest improvement in quality for the lowest cost.
For those who enjoy manual methods like pour-over or AeroPress, a gooseneck kettle is another great addition. Its long, thin spout provides superior control over the water flow, allowing you to pour slowly and evenly over the coffee grounds. This ensures all the grounds are saturated uniformly for a more balanced extraction—something that’s nearly impossible with a standard kettle.
Consistency is the defining characteristic of specialty coffee. Using a scale and a burr grinder aren’t about being pretentious; they are about giving the bean the respect it deserves by making its deliciousness repeatable.
— Specialty Coffee Association
| Step | Key Factor | Pro Tip |
|---|---|---|
| 1. Bean Selection | Freshness & Roast | Buy whole beans roasted within the last few weeks. The roast date is more important than the expiration date. |
| 2. Grinding | Consistency | Use a burr grinder, not a blade grinder. Grind your beans immediately before brewing for maximum flavor. |
| 3. Water | Temperature & Quality | Use filtered water heated to 195-205°F (90-96°C). Let a boiling kettle rest for 30-60 seconds. |
| 4. Brewing Ratio | Precision | Use a digital scale to measure a 1:17 coffee-to-water ratio (e.g., 20g coffee to 340g water) for consistency. |
Mastering the Art of the Perfect Brew
With the right tools on your counter, you’ve already won half the battle. The next step is moving from ownership to execution, transforming your morning routine into a craft. Consistency is the secret ingredient that separates a decent cup from a memorable one. That means controlling the key variables every single time.
Think of it less as a loose art and more as a simple science experiment. The three pillars of a great brew are your coffee-to-water ratio, your grind size, and your water. Get these right, and you’re well on your way to making coffee that rivals your favorite cafe. It really is that simple.
The Golden Ratio: Coffee to Water
Before you do anything else, you need a recipe. In coffee, that recipe is the coffee-to-water ratio. This is your blueprint for balance, much like a baker needs the right proportion of flour and water for a perfect loaf of bread. A great starting point for most brewing methods is a 1:17 ratio—that’s one gram of coffee for every 17 grams of water. For a single large mug, this might look like 22 grams of coffee and 374 grams of water.
Precision is your friend here. While using scoops can get you in the ballpark, a digital scale is the only way to guarantee repeatability. Guessing the amount is one of the most frequent common coffee brewing blunders people make. Weigh your beans before you grind, and place your brewer on the scale to weigh the water as you pour. This single habit will improve your coffee more than any other.
Just as important is the coffee grind size. The size of your coffee grounds dictates how long the water should be in contact with them. For a French press, which steeps for several minutes, you need a coarse grind resembling rough sea salt. For a standard drip machine, a medium grind like table salt is ideal. Getting this wrong means your coffee will be either under-extracted (sour, weak) or over-extracted (bitter, harsh).
Water Quality and Temperature: Unsung Heroes
What most people miss is the most abundant ingredient in the cup: the water. Since coffee is roughly 98% water, its quality and temperature have a massive impact on the final taste. You can have the best beans in the world, but if your water is off, your coffee will be too.
Let’s start with temperature. The ideal range for brewing, according to the National Coffee Association, is between 195°F and 205°F (90°C to 96°C). Why not just use boiling water straight from the kettle? Water at a full boil (212°F or 100°C) actually scorches the delicate compounds in the coffee grounds, resulting in a bitter, astringent flavor. Letting your kettle sit for about 30 seconds after it boils usually puts you right in the sweet spot.
The quality of the water itself is also vital. Tap water can contain chlorine or other minerals that introduce unwanted flavors. Using filtered water is a simple fix that ensures you’re only tasting the coffee. It’s a core concept that helps separate culinary fact from fiction — the base ingredients matter immensely. A quick tip for those aiming for perfection: avoid distilled water, as it lacks the necessary minerals for proper flavor extraction, leading to a flat and uninteresting cup.
By controlling these fundamentals—ratio, grind, and water—you create a consistent foundation. Now you have a reliable baseline from which you can start experimenting.
Troubleshooting Common Coffee Mistakes
Even with the best beans and equipment, sometimes a cup of coffee just doesn’t turn out right. It’s a frustrating experience, but the good news is that most issues have simple fixes. Understanding what went wrong is the first step toward consistently great coffee, moving beyond the most common brewing blunders many people make without realizing it.
If your coffee tastes overly bitter or astringent, the primary suspect is over-extraction. This means the water spent too much time with the coffee grounds, pulling out unwanted, harsh flavors. Think of it like steeping a tea bag for ten minutes instead of three; the result is overwhelmingly strong. To fix this, try a coarser grind size or reduce your total brew time. Even a 15-second change can make a significant difference.
The opposite problem is sour coffee, which often has a sharp, acidic, and undeveloped taste. This points to under-extraction. Your water likely passed through the grounds too quickly, failing to pull out the sweet, complex notes. What’s the easiest adjustment? You should use a finer grind to slow the water down or extend your brew time. Most people don’t realize that according to the Specialty Coffee Association, only about 7% of home brewers adjust their grind size regularly—a huge missed opportunity for better taste.
A weak, watery, or flavorless cup is almost always a ratio problem.
You simply might not be using enough coffee for the amount of water. While personal preference plays a role, a great starting point is a 1:16 ratio—that’s one gram of coffee for every 16 grams of water. This single change provides a stronger foundation for flavor, and from there you can tweak things to your liking. Following these expert tips can elevate your daily ritual from mundane to magnificent, turning what was once a mystery into a simple adjustment.
Beyond the Cup: Storing and Enjoying Your Coffee
Once you’ve brewed that amazing cup, the journey isn’t over. Protecting your coffee beans is primary for repeating that success tomorrow. The biggest mistake people make is treating coffee like a non-perishable pantry staple. Think of it more like fresh bread; its peak flavor is fleeting. The National Coffee Association confirms that oxygen, light, heat, and moisture are the main culprits behind stale beans. Your best bet is an opaque, airtight container stored in a cool, dark cupboard—and please, not the freezer! The condensation can ruin the oils, a topic that fits right in with other common culinary myths.
This attention to detail ensures your next cup is just as good as the last.
With fresh coffee in hand, you can start exploring simple ways to dress it up. You don’t need an expensive machine to create a cafe-style experience at home. A simple handheld frother, which costs less than a few lattes, can whip milk into a lovely foam. But what about flavor? A dash of cinnamon, a drop of vanilla extract, or a small piece of dark chocolate melted at the bottom of the mug can add a new dimension to your daily ritual, preventing the kind of boredom that leads to common coffee brewing blunders.
Exploring these small additions is half the fun. It’s a bit like learning to cook; once you master the basics, you start experimenting with spices and techniques. Your kitchen can become your personal coffee lab, a place to find the exact combination that makes your morning feel special. For more inspiration to whip up wonders, you can apply the same creative spirit to your coffee-making. The goal isn’t just a caffeine delivery system, but a small, delicious moment you’ve crafted for yourself.
Your Journey as a Home Barista Has Just Begun
You now possess the foundational knowledge that separates a casual coffee drinker from a true home barista. You understand the variables, you have the troubleshooting framework, and you know that consistency is the key. But mastering the recipe is not the end of the road; it’s the beginning of a far more rewarding one. The next step isn’t about buying more gear, but about developing your palate.
Start consciously tasting your coffee. When you change your grind size, can you identify the shift from sour to balanced? When you try a new single-origin bean, can you pick out the floral notes of an Ethiopian Yirgacheffe versus the chocolatey depth of a Guatemalan Antigua? The ultimate goal is to move beyond following a recipe to creating your own, tweaking the variables not just to avoid mistakes, but to actively chase the specific flavors you love. What does your perfect cup of coffee taste like? The answer is waiting in your next brew.
Frequently Asked Questions
What is the shelf life of coffee beans once opened?
Once opened, whole coffee beans are best used within one to two weeks for peak freshness. Store them in an opaque, airtight container at room temperature. Avoid the refrigerator or freezer, as moisture and odors can degrade the beans’ quality.
Can I use regular tap water for brewing coffee?
While you can use tap water, its quality greatly impacts flavor. If your tap water has a strong chlorine taste or is very hard, it will negatively affect your coffee. Using filtered water is a simple and effective way to ensure a clean, pure taste in your final cup.
What’s the best way to clean my coffee maker?
For daily cleaning, rinse all removable parts with warm water. For a weekly deep clean, use soap and water. Once a month, descale your machine by running a cycle with a solution of equal parts white vinegar and water, followed by two cycles of fresh water to rinse it thoroughly.
How does grind size affect the taste of my coffee?
Grind size controls the rate of flavor extraction. A coarse grind is for slow brewing methods like French press, while a fine grind is for fast methods like espresso. If your coffee is sour, your grind is likely too coarse; if it’s bitter, it’s probably too fine.
Is it better to buy whole beans or ground coffee?
It is always better to buy whole beans. Pre-ground coffee loses its aromatic oils and delicate flavors much faster due to oxidation. Grinding your beans just moments before you brew is the single most significant step you can take to improve the taste of your coffee at home.